In this tutorial, we go through the steps of a basic project setup using the WebVR assets.
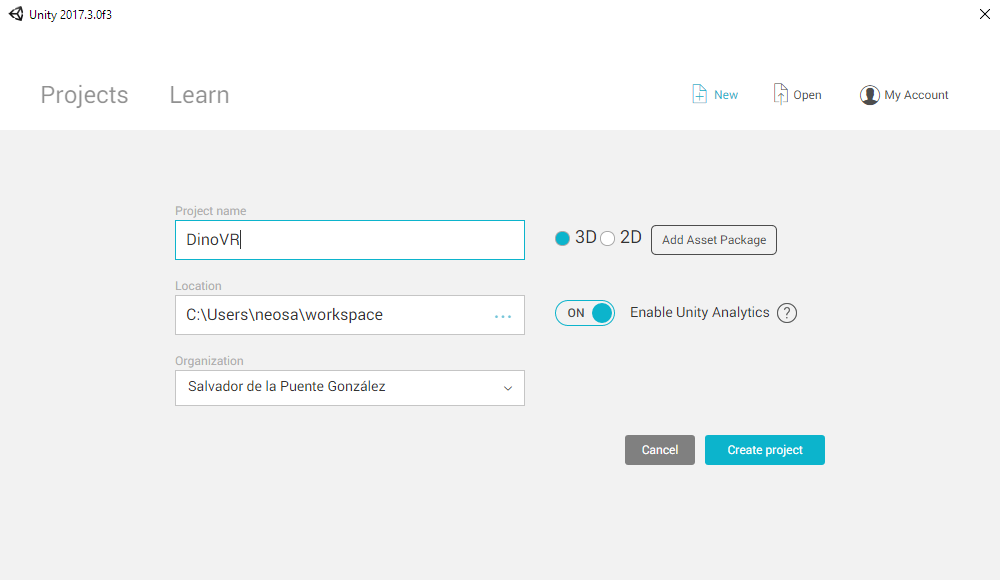
Open an existing project, or click on the New button and fill in the details of the new game:
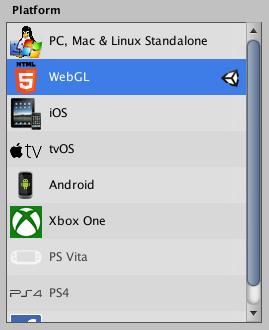
Open the menus: File > Build Settings
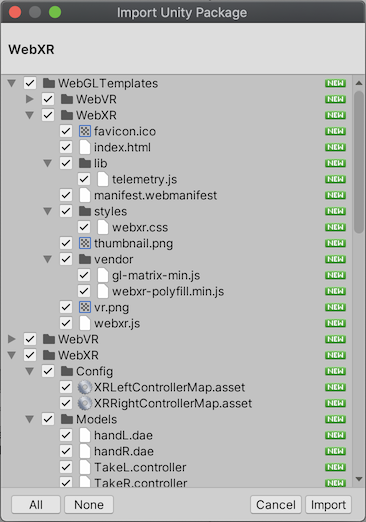
Download the Unity package from GitHub: WebVR-Assets.unitypackage
Import the package into your project:
Assets > Import Package > Custom Package
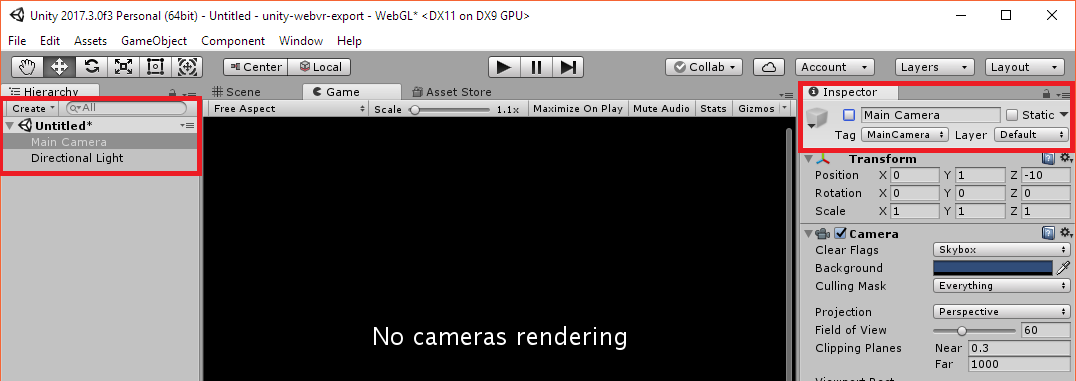
Select Main Camera from the scene's Hierarchy; then, disable the camera from the Inspector.
Add the WebVRCameraSet prefab (Assets > WebVR > Prefabs > WebVRCameraSet.prefab), and optionally the hand-controller models to your scene from the WebVR > Models folder:

Set up GameObjects that you would like to be used for left/hand controllers by attaching them to the WebVRCameraSet component Left Hand Obj and Right Hand Obj fields.

Go to Edit > Project Settings > Player:

Click on File > Build & Run, select a destination folder and Unity will compile your code and and launch the game in your default browser. If you want to open the game in another browser, copy and paste the URL of the game.
Under the hood, when clicking Build & Run, Unity will place all the needed files in the selected folder and will spin up a development web server pointing there. If you want to provide your own server, choose File > Build instead.
You will probably need to adapt your game mechanics and camera behaviours to integrate with WebVR. Good luck!