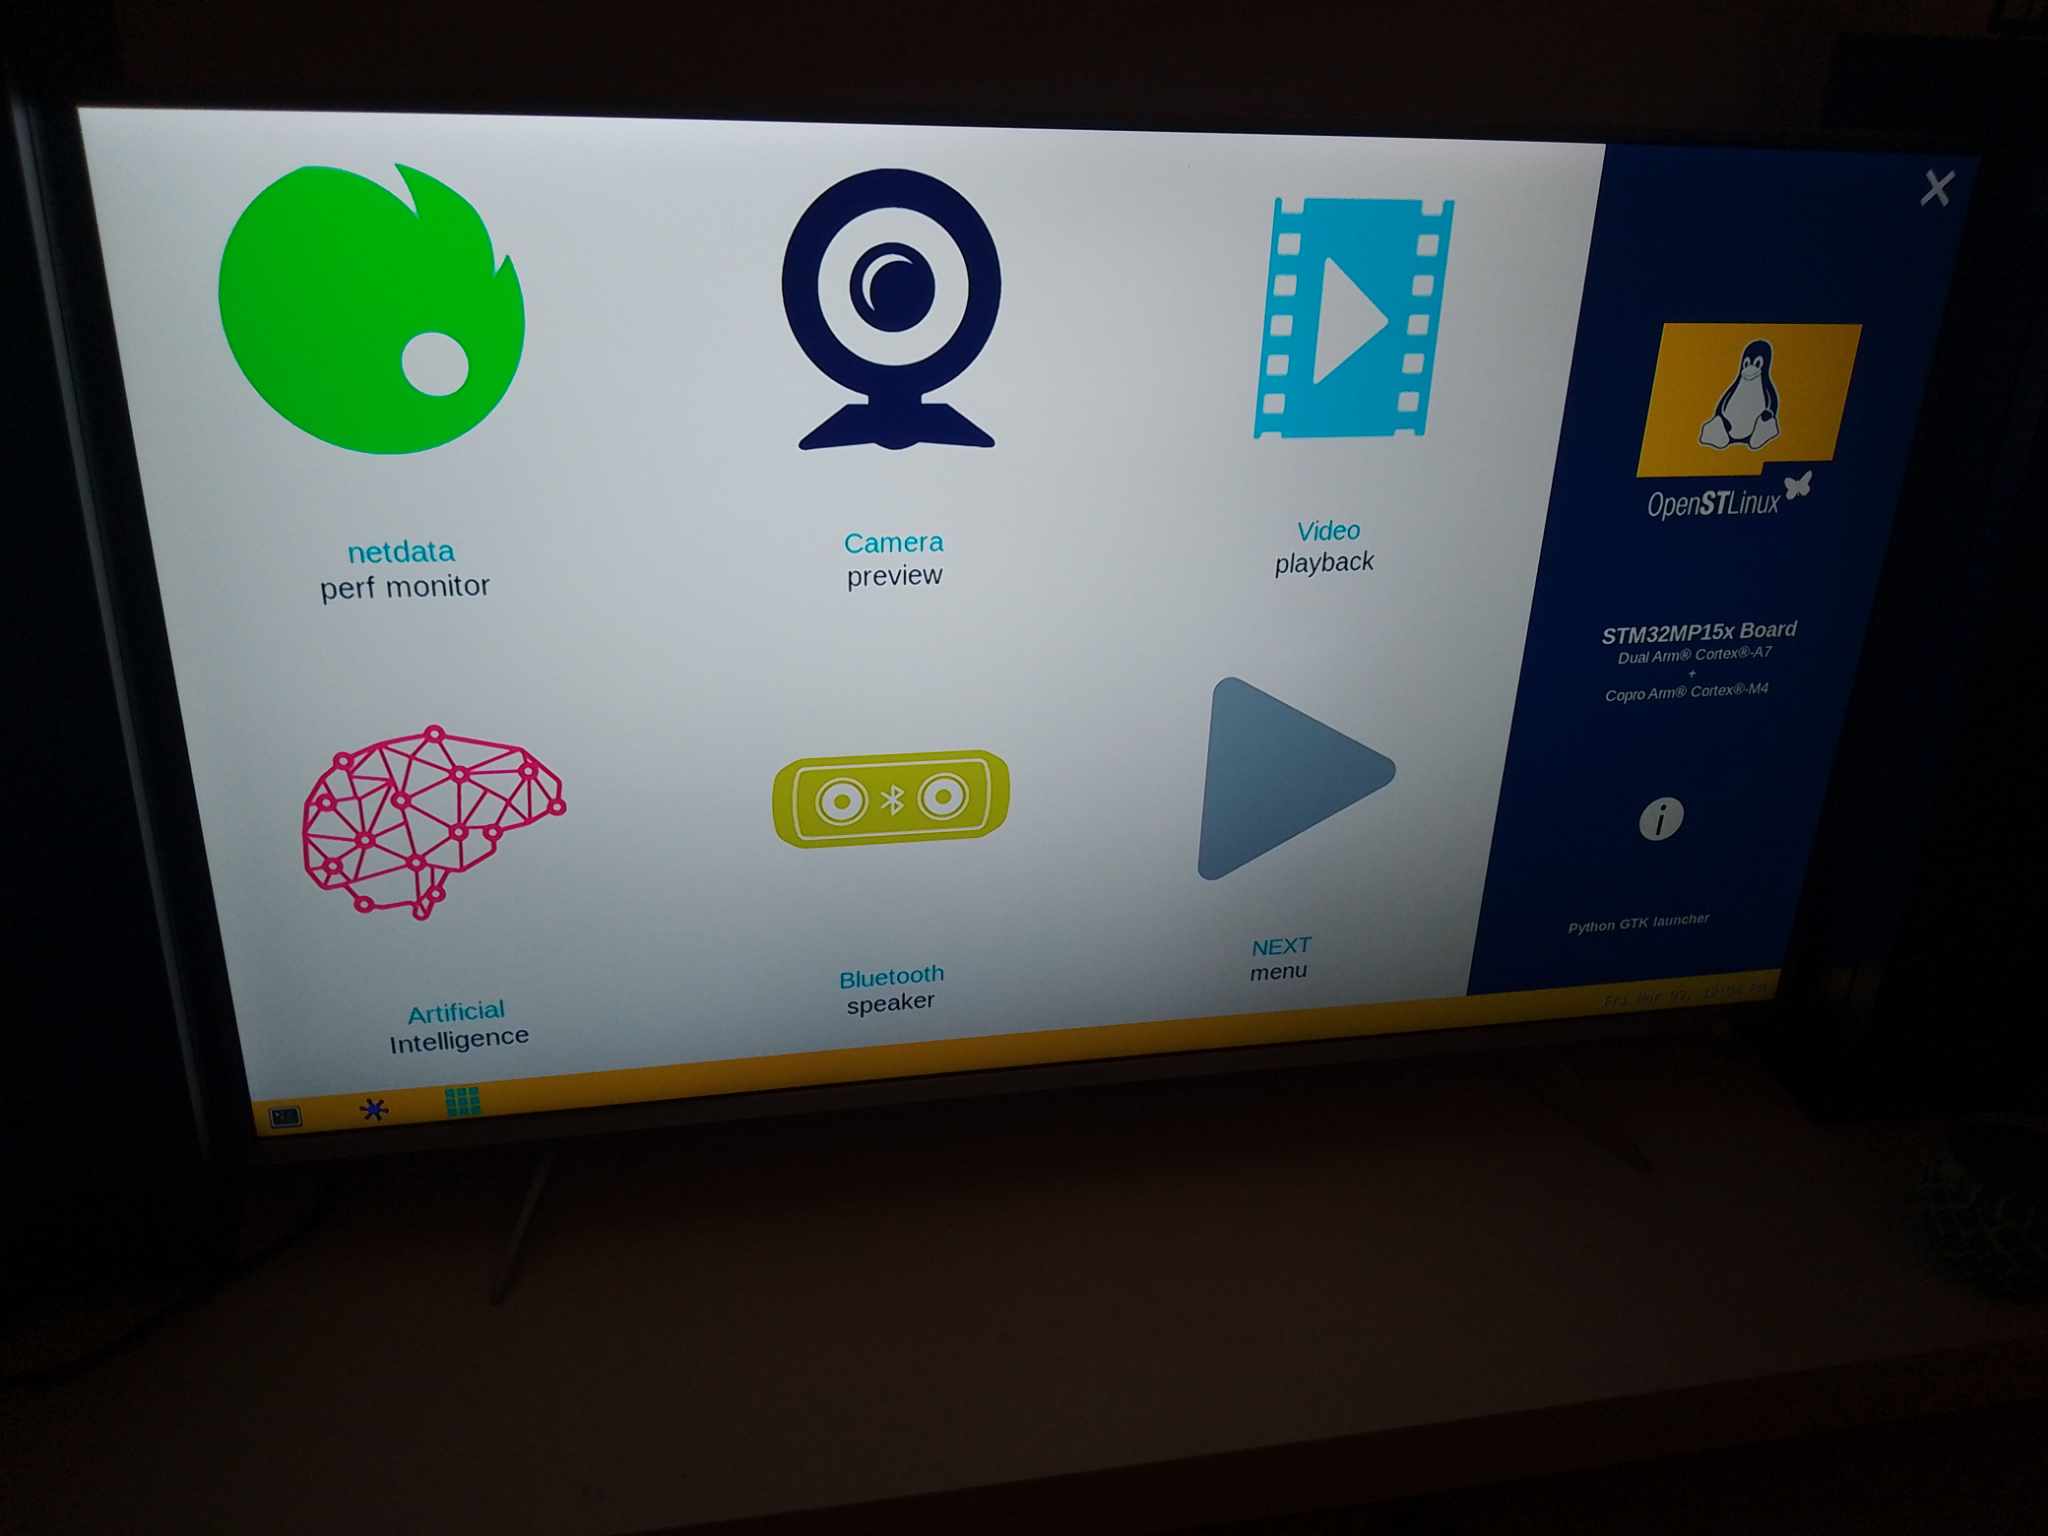
This project is a STM32 computer were Linux can be deployed onto. The circuit board is made in Altium CircuitMaker.
Here is STM32-OS system for the board.
https://github.com/danielmartensson/STM32-OS
Schematics and 3D model, made in Altium CircuitMaker.
https://workspace.circuitmaker.com/Projects/Details/DanielMrtensson/STM32-Computer
- 2024-03-29: Initializing the project
- 2024-04-20: Done with the coarse routing for the components
- 2024-05-26: Done with the fine impedance matched routing
- 2024-06-06: In production at JLCPCB - 42 dollar for 5 pcs
- 2024-06-18: Received the package
- 2024-07-07: Received the components - about 52 dollars
- 2024-07-18: Done with soldering
- 2024-09-04: First successful boot with Linux
- 2024-09-22: Done with the minimal STM32-OS
- Processor: STM32MP15XXAC
- CubeIDE: STM32MP151AAC
- Stack layers: 4
- 1 x HDMI
- 4 x USB A
- 1 x USB OTG(On The Go)
- 1 x 4/8 GB eMMC (Embedded Multi Media Card)
- 1 x Ethernet RJ45
- 1 x Coin cell battery holder
- Size: 75 mm x 100 mm
- Thickness: 1.52 mm
- 3 x Mounting pads of M2.5
- 1 x 512 MB DDRL3 RAM memory
- Debug: JTAG
- Power supply: 5V DC jack
To produce this board, the manufacture need to have these minimum capabilities:
- 0.1 mm minimum electrical clearance between traces pads and vias
- 0.09 mm minimum electrical clearance between BGA pads and traces
- Capability to cut the edge of the BGA pads if the minimum electrical clearance between BGA pads and traces are above 0.09 mm
- 0.09 mm minimum width of traces
- Via-in-pad according to IPC 4761 Type VII (Epoxy filled and capped)
- Via hole size of 0.3 mm and via diameter of 0.4 mm
- Impedance control: JLC04161H-1080
I have been using JLCPCB as the manufacturer for this.
This is the prompt over UART.
root@stm32mp1:~# ls
README-CHECK-GPU
root@stm32mp1:~# cd
root@stm32mp1:~# ls
README-CHECK-GPU
root@stm32mp1:~# cd ~
root@stm32mp1:~# ls
README-CHECK-GPU
root@stm32mp1:~# cd ~/
root@stm32mp1:~# ls
README-CHECK-GPU
root@stm32mp1:~# cd /home
root@stm32mp1:/home# ls
root  weston
root@stm32mp1:/home# cd weston
root@stm32mp1:/home/weston# mkdir test
root@stm32mp1:/home/weston# ls
test  typescript  weston-previous.log  weston.log
root@stm32mp1:/home/weston# rm -r test
root@stm32mp1:/home/weston# ls
typescript  weston-previous.log  weston.log
root@stm32mp1:/home/weston# Here is a manual to get OpenSTLinux or STM32-OS to work on STM32-Computer.
# Localization
lubuntu@lubuntu-20bg001kms:~/Downloads$ ls
en.FLASH-stm32mp1-openstlinux-6.1-yocto-mickledore-mpu-v24.06.26.tar.gz

# Transfrom GNU zip to TAR archive
lubuntu@lubuntu-20bg001kms:~/Downloads$ gzip -d en.FLASH-stm32mp1-openstlinux-6.1-yocto-mickledore-mpu-v24.06.26.tar.gz

# Extract TAR archive
lubuntu@lubuntu-20bg001kms:~/Downloads$ tar -xf en.FLASH-stm32mp1-openstlinux-6.1-yocto-mickledore-mpu-v24.06.26.tar

# Navigation to *.ext4 files
lubuntu@lubuntu-20bg001kms:~/Downloads$ cd stm32mp1-openstlinux-6.1-yocto-mickledore-mpu-v24.06.26/images/stm32mp1/

# Move *.ext4 files to FIP_artifacts folder
lubuntu@lubuntu-20bg001kms:~/Downloads/stm32mp1-openstlinux-6.1-yocto-mickledore-mpu-v
24.06.26/images/stm32mp1$ cp *.ext4 ~/Documents/GitHub/STM32-Computer/Firmware/STM32-Computer-Firmware/CA7/FIP_artifacts/

# Navigation to the FIP_artifacts folder
lubuntu@lubuntu-20bg001kms:~/Downloads/stm32mp1-openstlinux-6.1-yocto-mickledore-mpu-v
24.06.26/images/stm32mp1$ cd ~/Documents/GitHub/STM32-Computer/Firmware/STM32-Computer-Firmware/CA7/FIP_artifacts/

# Create folder
lubuntu@lubuntu-20bg001kms:~/Documents/GitHub/STM32-Computer/Firmware/STM32-Computer-Firmware/CA7/FIP_artifacts$ sudo mkdir /mnt/bootfs

# Mount bootfs file
lubuntu@lubuntu-20bg001kms:~/Documents/GitHub/STM32-Computer/Firmware/STM32-Computer-Firmware/CA7/FIP_artifacts$ sudo mount -o loop st-image-bootfs-openstlinux-weston-stm32mp1.ext4 /mnt/bootfs/

# Copy over the linux kernel
lubuntu@lubuntu-20bg001kms:~/Documents/GitHub/STM32-Computer/Firmware/STM32-Computer-Firmware/CA7/FIP_artifacts$ sudo cp ../linux-6.1.82/build/arch/arm/boot/uImage /mnt/bootfs/

# Copy over the dtb file
lubuntu@lubuntu-20bg001kms:~/Documents/GitHub/STM32-Computer/Firmware/STM32-Computer-Firmware/CA7/FIP_artifacts$ sudo cp ../linux-6.1.82/build/arch/arm/boot/dts/stm32mp151a-stm32-computer-firmware-mx.dtb /mnt/bootfs/

# Unmount bootfs
lubuntu@lubuntu-20bg001kms:~/Documents/GitHub/STM32-Computer/Firmware/STM32-Computer-Firmware/CA7/FIP_artifacts$ sudo umount /mnt/bootfs

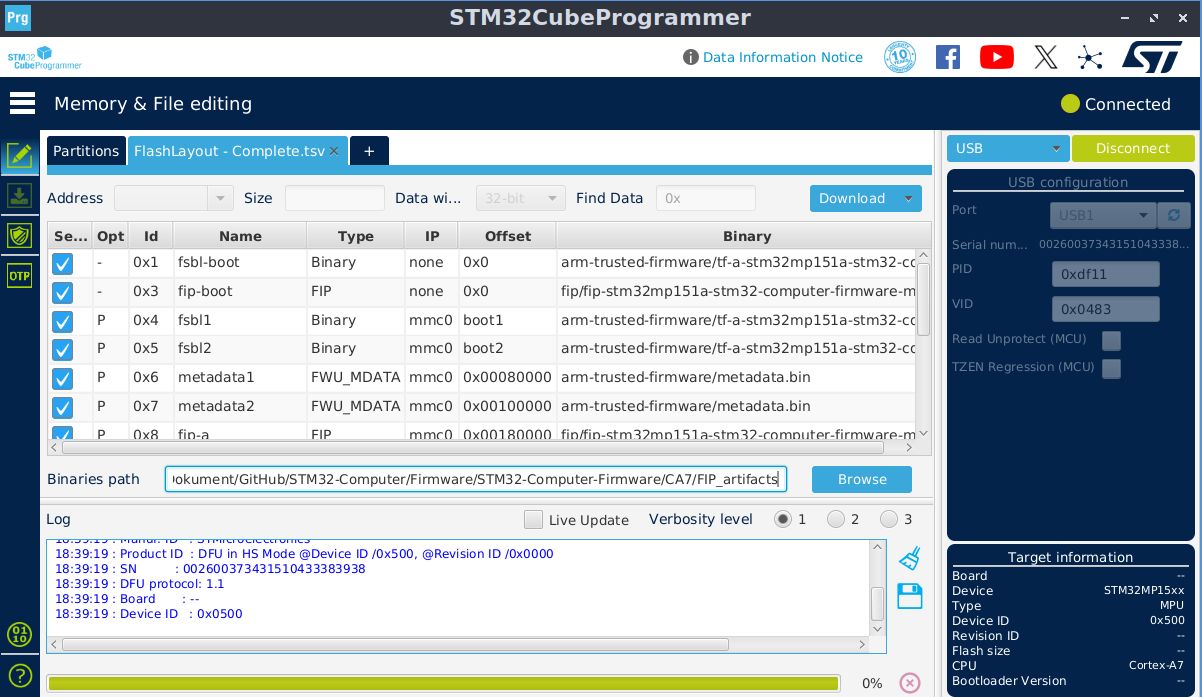
# Run STM32CubeProgrammer
lubuntu@lubuntu-20bg001kms:~/Documents/GitHub/STM32-Computer/Firmware/STM32-Computer-Firmware/CA7/FIP_artifacts$ sudo /opt/st/stm32cubeprog_2.17.0/bin/STM32CubeProgrammer
There are two types of flash layouts that you can use:
FlashLayout - Bootfs.tsvfor only re-flashing thekerneland.dtbfile. Great use for debugging purposes.FlashLayout - STM32-OS.tsvfor flashing the whole system withrootfs.ext4
Flip the BOOT1 (blue switch) to OFF when you're about to flash the eMMC. Flip the BOOT1 to ON when you want to boot from the eMMC.
- Replace the USB hub package. It as the wrong article number. The correct article number is
USB2514B-AEZCwithQFN-36package, notVQFN-36-Eas it is written in the BOM list - Start up USB hub
In order to make sure that the OpenSTLinux or STM32-OS will work on STM32MP15XXAC processor, one must do the following
One huge problem inside linux kernel is that the workqueue eval_map_wq contains important initial calls for devices such as STPMIC.
When that workqueue is destoryed, the linux kernel halts, without any errors. I belive that it destroys the communication to the STPMIC. Not sure, becuase it's very difficullt to debug this thing using UART.
But to solve that issue, then comment destroy_workqueue(eval_map_wq);. It's not a standard way to do this. The problem lies on STMicroelectronics to make sure that the workqueue do not destroy important devices, which now, it currently doing.
static int __init trace_eval_sync(void)
{
	/* Make sure the eval map updates are finished */
	if (eval_map_wq){
		/*destroy_workqueue(eval_map_wq); */
	}
	return 0;
}This is a common issue. It's not a bug or so, it's just that the developers of STMicroelectronics has forgotten to adapt their OpenSTLinux code for the STM32MP151 series, and only for STM32MP157 and STM32MP153. But make the code suitable for the STM32MP151 series by adding support for it. Add this line { .compatible = "st,stm32mp151", }, so your device trees will work with the linux kernel.
/*
 * Machines for which the cpufreq device is *not* created, mostly used for
 * platforms using "operating-points-v2" property.
 */
static const struct of_device_id blocklist[] __initconst = {
	{ .compatible = "allwinner,sun50i-h6", },
	...
	..
	.
    { .compatible = "st,stih407", },
	{ .compatible = "st,stih410", },
	{ .compatible = "st,stih418", },
	{ .compatible = "st,stm32mp157", },
	{ .compatible = "st,stm32mp151", },
	...
	..
	.
	{ .compatible = "qcom,msm8974", },
	{ .compatible = "qcom,msm8960", },

	{ }
};


