Check the status of your CI/CD environments or Notifications using your Stream Deck
You can find it at the Stream Deck Store. 🚀
| Field | Description | Service | Required |
|---|---|---|---|
account |
Here you can select your Personal Token and custom domain if you use a self-hosted version. |
GitHub, GitLab, Netlify, Vercel, Travis | Yes |
username/repo |
Configure here the repo for GitLab/GitHub | GitHub, GitLab, Travis | Yes |
siteId |
Your Netlify Site Id | Netlify | Yes |
project name |
Your project name in Vercel | Vercel | Yes |
branch |
Select the branch to monitor or leave it empty to show info from all branches. | GitHub, GitLab, Netlify, Travis | No |
Show information
You have to create a new Personal Token with the following scopes: repo:status, repo_deployment and public_repo.
You have to create a new Personal Token with all the repo scopes, otherwise you don't have access to your private repositories.
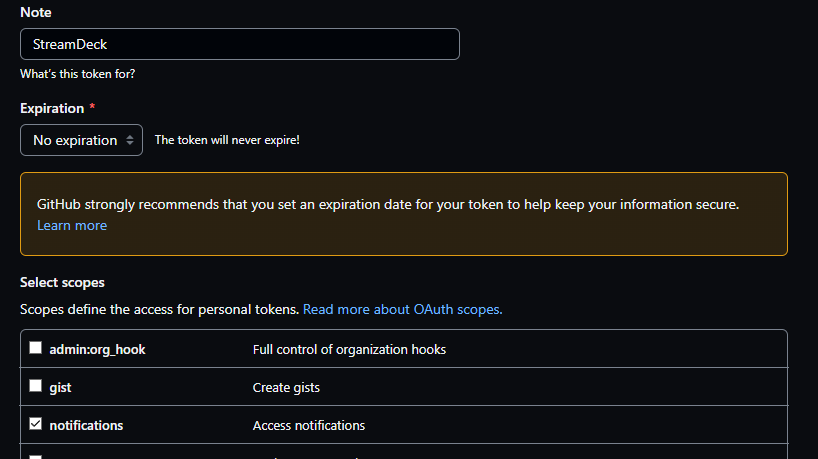
You have to create a new Personal Token with notifications scopes, otherwise you don't have access to your notifications.
Show information
You have to create a new Personal Access Token. Set the scope as follows:
| Required for | Scope |
|---|---|
| CI Status | read_api |
| MRs | read_api |
| ToDos | read_user |
Show information
You have to create a new Personal Token.
You can find your site id in the settings tab of your project, with the API ID name.
Show information
You have to create a new Token.
Show information
You have to create a new Token.
By default the actions uses the travis-ci.org api, if you want to use it with travis-ci.com set https://api.travis-ci.com as domain in the configuration.
- Install all the dependencies
yarn- Build the project for the first time, the project uses Parcel as bundler to handle React and TypeScript
yarn build- Create a symlink form the folder you clone the repository
ln -s devops-streamdeck/dist/dev.santiagomartin.devops.sdPlugin ~/Library/Application\ Support/com.elgato.StreamDeck/Plugins/dev.santiagomartin.devops.sdPlugin- Run the proper dev command, since we are using Parcel to build the project we have a few dev commands to start Parcel in watch mode
// For Property Inspector
yarn:dev:pi

// For Plugin
yarn:dev:plugin

// For setup screen, where the user add the configuration for each service
yarn:dev:setup
    .
    ├── node_modules
    ├── dist
    ├── images
    ├── node_modules
    ├── release
    ├── src
      ├── dev.santiagomartin.devops.sdPlugin
        ├── pi // all code related with Property Inspector (build with React and TypeScript)
        ├── plugin // all code related with Plugin (build with TypeScript)
        ├── setup // all code related with Setup page (build with React and TypeScript)
    ├── tools // contains the elgato tools to build the project using GitHub Actions
    ├── .babelrc
    ├── .gitignore
    ├── jest.config
    ├── LICENSE
    ├── manifest.json
    ├── package.json
    ├── README.md
    ├── tsconfig.json
    └── yarn.lock
Thank you for considering contributing to the DevOps for Stream Deck. Feel free to send in any pull requests.
If you like the project, you can subscribe to my Twitch channel, where I do live coding of this and other projects.
Please report any issues. Ideas for new excuse features are also welcomed.


