How to Contribute
This page gets you started with contributing to the Symphony code base.
For people familiar with Git and GitHub:
1) Fork the Symphony develop branch
2) Clone your personal fork to your computer
git clone https://github.com/YOUR_USERNAME/Symphony.git
3) Add a remote repository
git remote add upstream https://github.com/Symphony-DAS/Symphony.git
1) Sync your repo
git pull upstream develop
2) Create a topic branch
git checkout -b TOPIC_BRANCH_NAME develop
3) Make changes and commit
git commit -am "A description of my changes." or git commit -am "[fixed ISSUE_NUM] description" (if fixing an issue tracked in GitHub)
4) Push to GitHub
git push origin TOPIC_BRANCH_NAME
5) Submit a pull request
For people less familiar with Git and GitHub:
1) Create a GitHub Account
Symphony's development is managed via GitHub. You'll need a GitHub account to start. Sign up for free.
2) Install Git
Follow the Git setup guide for GitHub to install and configure Git to work with GitHub.
3) Fork Symphony
Login to your GitHub account and go to the main Symphony repository at https://github.com/Symphony-DAS/Symphony. Make sure the "develop" branch is selected and push the "Fork" button in the top right. Choose the option to fork to your personal account, if requested.

4) Clone your Fork Locally
Clone the new fork to your local disk by running git clone URL_OF_YOUR_FORK. The URL_OF_YOUR_FORK can be found at the top of the GitHub page displaying your forked repository. It follows the format https://github.com/YOUR_USERNAME/Symphony.git.


5) Add the Upstream Repository
Add the original Symphony repository as a remote repository of your personal fork. You can do this by changing your current working directory to your new cloned directory and then running git remote add upstream https://github.com/Symphony-DAS/Symphony.git.

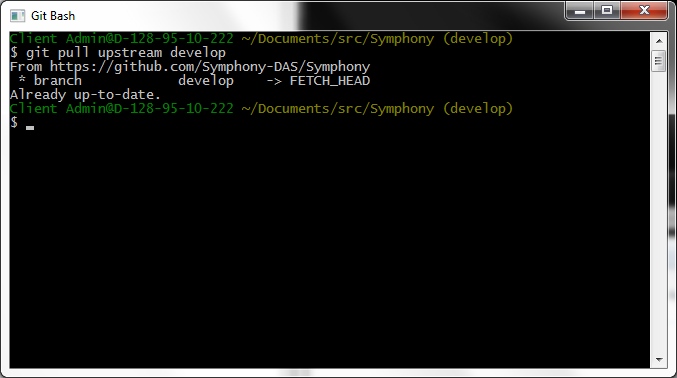
1) Update your Development Branch
Before making any changes you should synchronize your local development branch with the main development branch by running git pull upstream develop.
2) Create a Topic Branch
Create a topic branch for each group of related changes you wish to make. A topic branch can be created by running git checkout -b TOPIC_BRANCH_NAME develop.

3) Make Changes and Commit
Make changes to implement a new feature, fix a bug, etc., and commit the changes to your topic branch by running git commit -am "A description of my changes.". You should commit changes to your branch frequently.
If you're addressing an issue tracked on the GitHub issues page, include the issue number at the start of your commit message with the format git commit -am "[fixed #1234] description". Also make sure to keep your branch up-to-date with the upstream changes by running git pull upstream develop.
4) Push to GitHub
Push changes on your branch to your personal Symphony repository on GitHub by running git push origin TOPIC_BRANCH_NAME.

5) Submit a Pull Request
When you've completed the changes on a particular topic branch, submit a pull request to the main Symphony repository. GitHub should display a pull request icon next to your topic branch on your personal Symphony fork. Click "Pull Request" next to your topic branch:

Leave everything as is on the pull request page. Your topic branch should already be set to merge back into the main Symphony develop branch. You can add a comment about your changes if you like. Press "Send Pull Request" when you're done.

6) Delete your Topic Branch
After your topic branch has been incorporated into the main Symphony repository (wait until your pull request is closed!), you can delete the branch in your personal repository by running git push origin --delete TOPIC_BRANCH_NAME.