- Overview
- Installation / Configuration
- Shopify Theme Modification
- settings_schema.json
- imgix.liquid
- Enabling imgix Integration
- Caveats & Warnings
This guide presents a working solution for integrating imgix into your Shopify site. All configurations are made to work on top of Shopify's front end and CDN, but they will have certain limitations detailed in our caveats & warnings section below. Unfortunately, we cannot guarantee expected results if Shopify ever makes changes to its system in ways that create breaking issues with this guide.
imgix is easy to integrate with your Shopify store. To get started, see the pre-requisites below.
Before starting, connect an Imgix Source to your Shopify assets.
Web Folder is the most common Source type for Shopify Sources; however, you can use any other Source as long as it matches the path of your Shopify images.
We'll provide a starting example with a Web Folder Source to make following this guide easier.
For your Source configuration, use the following settings:
- Subdomain: Anything you like. In this tutorial, the example will use the subdomain
imgix-shopify. - Source Type: Web Folder
- Base URL: https://my_store_id.myshopify.com
After completing everything, click Create Source to queue your new Source. You should see the Status indicator change from Queued to Deployed after several minutes on the next page. Currently, imgix is fully configured and ready to integrate with Shopify!
We recommend using the Shopify CLI to clone and make changes locally to your theme. This allows you to preview changes in real-time when modifying your theme. You can follow this dev guide by Quratulaiinn to learn about adjusting your Shopify theme locally.
Note that your Shopify theme settings may not be synced when developing locally. You can force some settings by adding this to your local settings_data.json file:
{
  ...
  "enableImgix": true,
  "imgixUrl": "https://example.imgix.net",
  "imgixShopifyUrl": "//your_shop_id.myshopify.com/cdn/shop/files",
  ...
}
To begin serving your content with imgix, you must make two changes to your Shopify theme. Special thanks to Jason Bowman at Freakdesign for creating the initial version (now outdated) of these files. You can access Shopify's theme file editor by going to Online store > Themes > Customize > Theme actions > Edit Code.
The first change lets you configure your imgix installation inside Shopify's theme settings. Copy the code below to the top of your theme's Config/settings_schema.json file inside the outermost pair of square brackets ([ ]). Add a comma (,) to the file following the } preceding where you paste this code in the snippet. You can also search for settings_schema.json in the search bar at the top to find it.
{
  "name": "imgix",
  "settings": [
 {
      "type": "paragraph",
      "content": "Check out imgix's \[Shopify integration guide\](https:\/\/docs.imgix.com\/guides\/shopify-integration) to learn more about these options."
 },
 {
      "type": "checkbox",
      "id": "enableImgix",
      "label": "Enable imgix"
 },
 {
      "type": "text",
      "id": "imgixUrl",
      "label": "imgix subdomain",
      "info": "The subdomain you set within imgix. Example: `https:\/\/mysite-shopify.imgix.net`."
 },
 {
        "type": "text",
        "id": "imgixShopifyUrl",
        "label": "Shopify CDN domain",
        "default": "\/\/your_store_id.myshopify.com",
        "info": "Change \"your_store_id\" to your shopify store ID. See the Readme for more information: https://github.com/imgix/shopify-integration-guide"
 }
 ]
},
imgixShopifyUrl
If you are using a Web Folder Source connected to your Shopify site, the imgixShopifyUrl value should match your Source's Base URL path. Examples:
| Imgix Web Folder Base Path | imgixShopifyUrl |
|---|---|
| https://myclothingstore.myshopify.com | //myclothingstore.myshopify.com |
| https://myshoestore.myshopify.com/cdn/shop/files/ | //myshoestore.myshopify.com/cdn/shop/files/ |
You should follow the same pattern for other Source types when using the file path based on your Shopify file paths. Examples:
| Imgix S3 Path Prefix | imgixShopifyUrl |
|---|---|
| / | //mybananastore.myshopify.com |
| /cdn/shop/files/ | //myapplestore.myshopify.com/cdn/shop/files/ |
The second file adds a new Liquid tag that helps users generate imgix URLs. This time, create a new file in your theme's Snippets directory named imgix.liquid. Copy the code below into that file, and save it:
{% capture IMGIX %}
 {% comment %}
 <!--
 Convert a Shopify CDN path into an imgix path, with parameters.

 * Refer to the imgix documentation to learn about all the available parameters: https://docs.imgix.com/apis/url
 -->
 {% endcomment %}
 {% if settings.enableImgix %}
 {% for i in (1..1) %}
 {% comment %}
 <!-- Check to ensure the src exists and that the imgix url theme settings are not blank. If blank, stop! -->
 {% endcomment %}
 {% unless src or settings.imgixUrl != blank %}
 {{ src }}
 {% break %}
 {% endunless %}

 {% comment %}
 <!-- Check to ensure the src has the Shopify CDN url in it. If it doesn't this does not need to run any further -->
 {% endcomment %}
 {% assign cdnUrl = settings.imgixShopifyUrl | strip %}
 {% unless src contains cdnUrl %}
 {{ src }}
 {% break %}
 {% endunless %}

 {% assign imgixUrl = settings.imgixUrl | strip %}

 {% comment %}
 <!-- Create a list of all the imgix filters we want to use -->
 {% endcomment %}
 {% assign filters = 'bri,con,cs,exp,gam,high,hue,invert,sat,shad,sharp,usm,usmrad,vib,auto,bg,blend,bm,ba,balph,bp,bw,bh,bf,bc,bs,bx,by,border,pad,faceindex,facepad,faces,ch,chromasub,colorquant,dl,dpi,fm,lossless,q,mask,nr,nrs,colors,palette,prefix,dpr,flip,or,rot,crop,fit,h,rect,w,blur,htn,mono,px,sepia,txt,txtalign,txtclip,txtclr,txtfit,txtfont,txtline,txtlineclr,txtpad,txtshad,txtsize,txtwidth,trim,trimcolor,trimmd,trimpad,trimsd,trimtol,mark,markalign,markalpha,markbase,markfit,markh,markpad,markscale,markw,markx,marky' | split:',' %}

 {% comment %}
 <!-- Build up the list of filters to add to the url -->
 {% endcomment %}
 {% assign imgWithQuerystring = "?" %}

 {% if src contains '?' %}
 {% assign imgWithQuerystring = '' %}
 {% endif %}

 {% for _filter in filters %}
 {% if [_filter] %}
 {% assign imgWithQuerystring = imgWithQuerystring | append:_filter | append:'=' | append:[_filter] | append:'&' %}
 {% endif %}
 {% endfor %}

 {% assign modifySrc = src | split:'?' | first | append: "?" %}
 {% assign newSrc = modifySrc | strip | replace:cdnUrl,imgixUrl | append:imgWithQuerystring %}
 {% endfor %}

 {{ newSrc | default:src }}
 {% else %}
 {{ src }}
 {% endif %}
{% endcapture %}{{ IMGIX | strip | replace:' ' | strip_newlines }}Now that you've set up your Shopify theme to work with imgix, you can enable imgix in your theme settings. Head to Online store > Themes > Customize. Once there, you'll see an imgix option in the left-hand sidebar. Click on this to configure your imgix setup. It should look something like the following:
- Enable imgix: Make sure this is checked.
- imgix Subdomain: Whatever you set your Source subdomain to in step 1. In this example:
https://imgix-shopify.imgix.net. - Shopify CDN Domain: You'll likely not want to change this from the default value of
//cdn.shopify.com.
After you've set everything up, click Save, and you can move on!
At this point, you're ready to change the images of your existing theme to use imgix. The exact process will vary depending on your theme, but the basics will be the same. Find places in your theme where existing images are being output, and replace them with the imgix Liquid tag you created. Here's an example:
Before:
{{ product.featured_image | img_url:'grande' }}
After:
{% assign feat_img_url = product.featured_image | img_url:'master' %}
{% render 'imgix', src:feat_img_url w:600 auto:'format' flip:'v' %}
It's a good idea to always use the master variant of Shopify's images and let imgix handle the resizing. That way, you'll always get the best-quality image possible. Jason Bowman has created a great demo page showcasing more potential uses of this tag.
Here's another example of using imgix to quickly build a responsive image using srcset and sizes:
{% assign feat_img_url = product.featured_image | img_url:'master' %}

<img
 src="{% render 'imgix', src:feat_img_url w:960 auto:'format' %}"
 srcset="
 {% render 'imgix', src:feat_img_url w:320 auto:'format' %} 320w,
 {% render 'imgix', src:feat_img_url w:640 auto:'format' %} 640w,
 {% render 'imgix', src:feat_img_url w:960 auto:'format' %} 960w,
 {% render 'imgix', src:feat_img_url w:1280 auto:'format' %} 1280w,
 {% render 'imgix', src:feat_img_url w:1600 auto:'format' %} 1600w
  "
 sizes="(min-width: 375px) 50vw, 100vw"
 alt= "My awesome product"
/>
This example will result in an image sized to fill the whole viewport's width below 375 pixels, and 50% of the viewport's width at or above 375 pixels. Eric Portis' post on srcset and sizes is a great place to learn more about these responsive image tools.
Native Resizing: Shopify's in-house templating language, similar to imgix, also allows image resizing. However, we generally recommend only resizing your images by passing in imgix parameters rather than combining imgix and Shopify.
<ul class="grid product-single__thumbnails" id="ProductThumbs">
{% for image in product.images %}
<li class="grid__item">
<a
data-image-id="{{ image.id }}"
href="{{ image.src | img_url: '1024x1024' }}"
class="product-single__thumbnail"
>
<img
src=" {% render 'imgix', src:image.master h:263 %}"
alt="{{ image.alt | escape }}"
/>
</a>
</li>
{% endfor %}
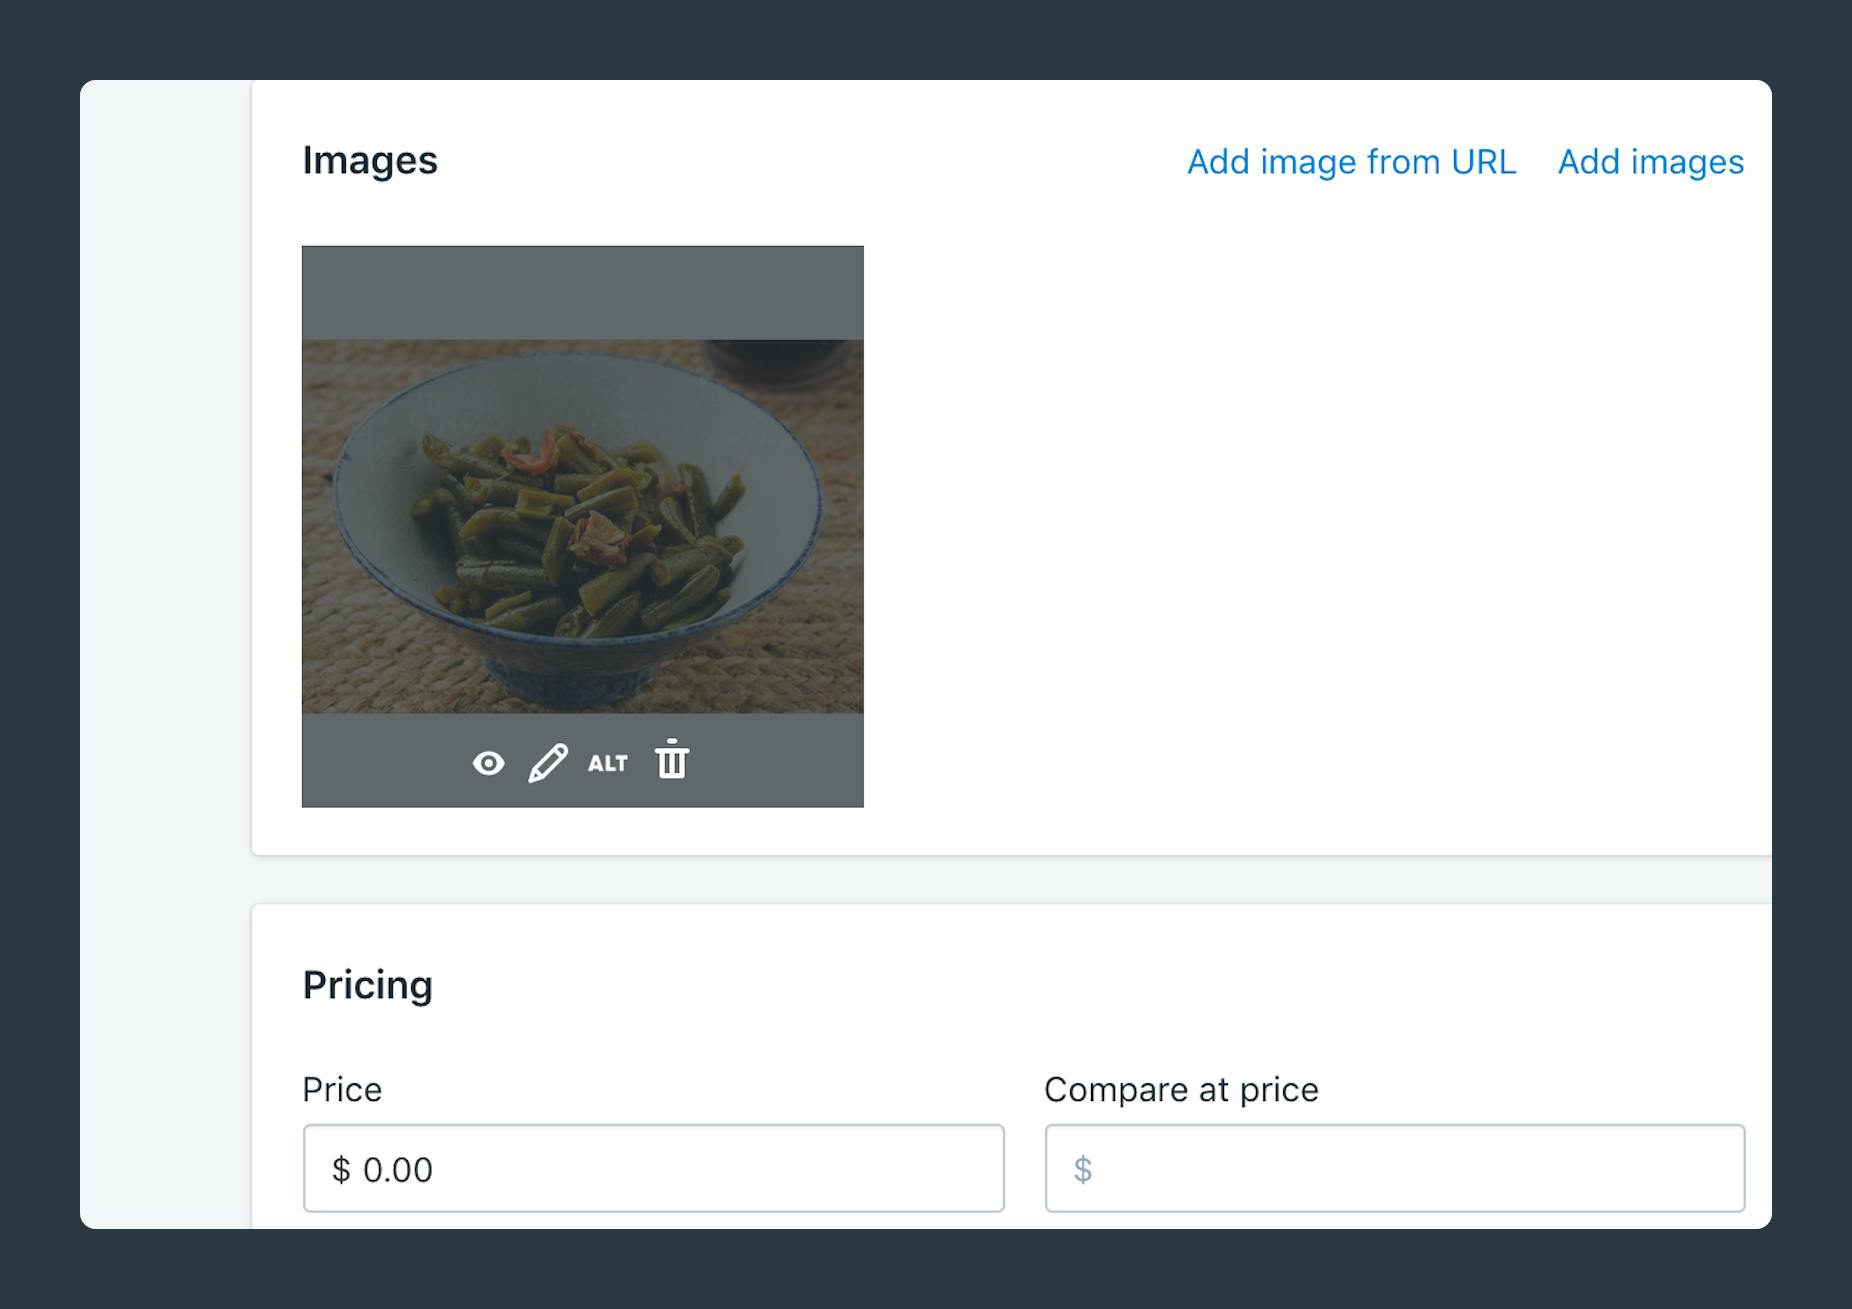
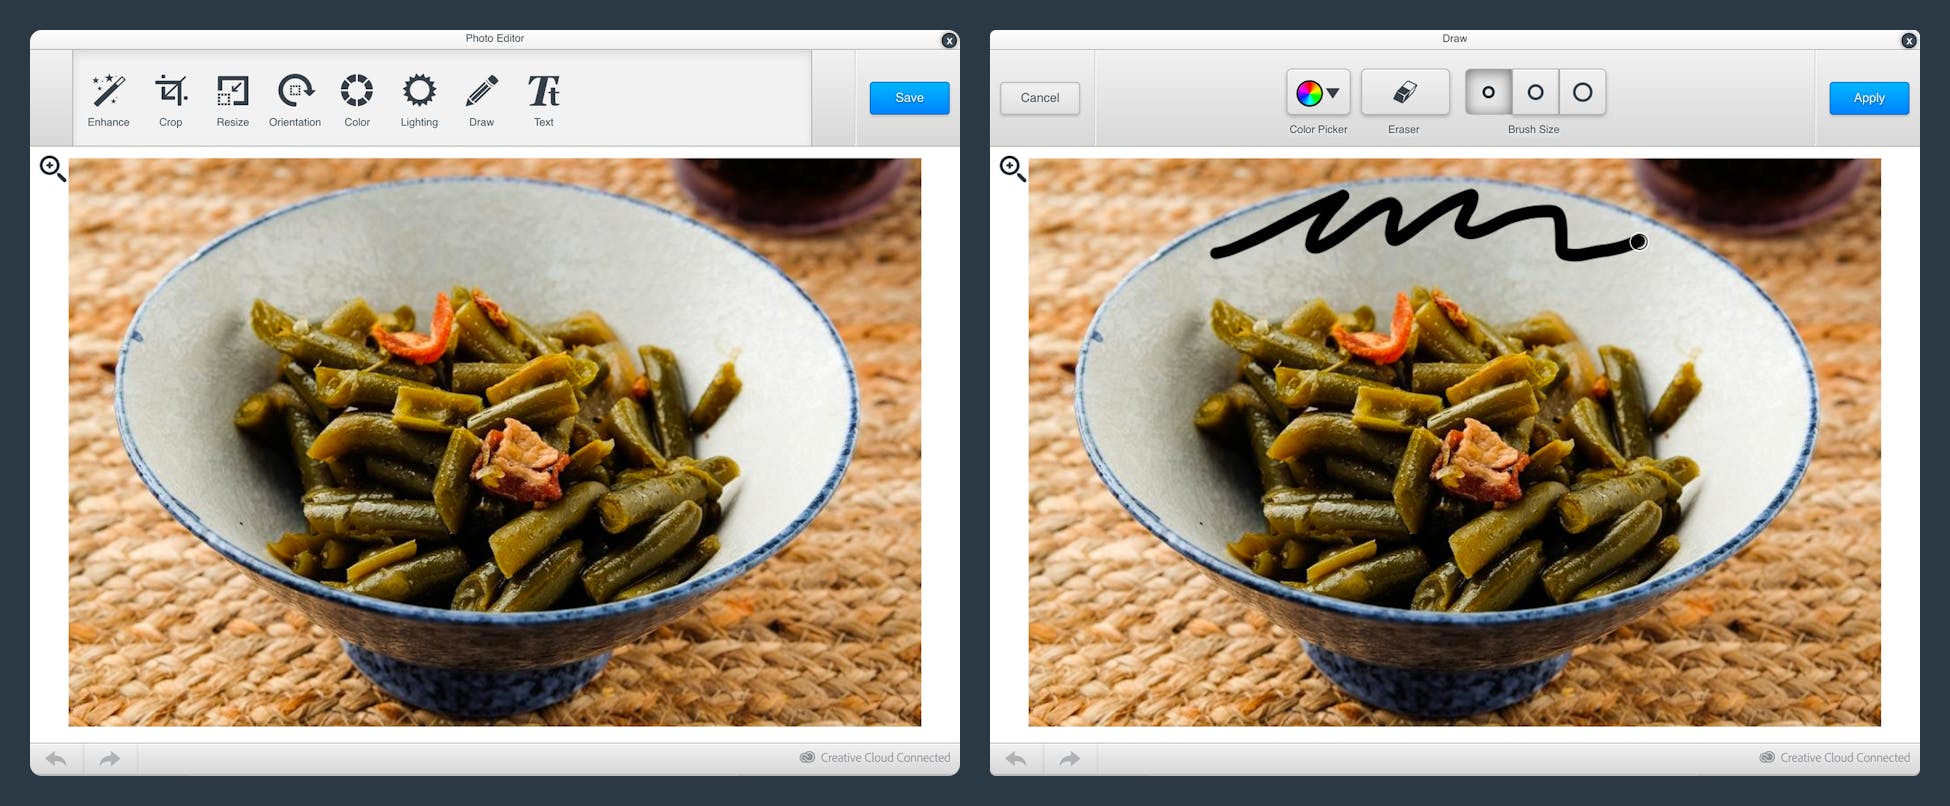
</ul>Native Image Transformations: Shopify also provides its own Photo Editor tools for editing product images. We recommend not using this feature with imgix images as the changes will not always take effect, even with image purging.
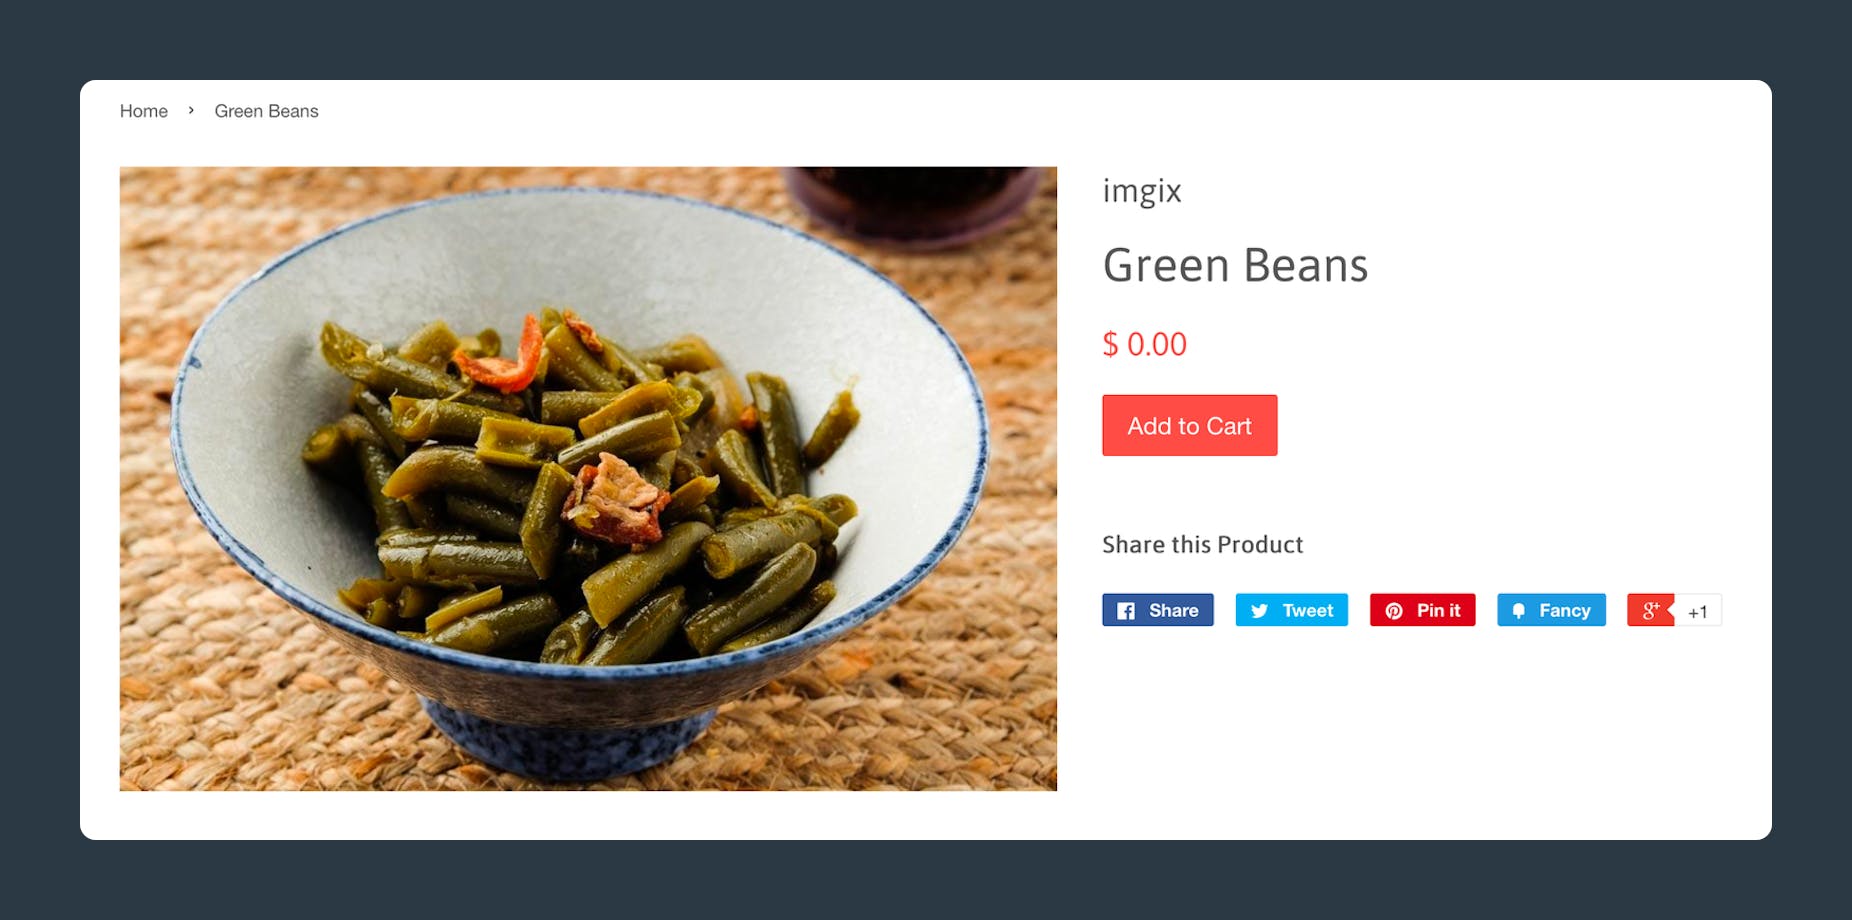
An illustration:
After saving the image and checking the product page, we see that the changes have not taken effect.