Bridge Tutorial
The CheerpX For Flash Wiki has moved to https://docs.leaningtech.com/cheerpx-for-flash/.
Please view this page in its new location: https://docs.leaningtech.com/cheerpx-for-flash/Bridge-Tutorial
When CheerpX has a performance drop off too large for a customer, we will offer our Native Bridge extension. To read more about the Native Bridge, read our feature page.
Download the Native Bridge image from the link we provide. This is shipped as a .tar file, and should be less than 100MB.
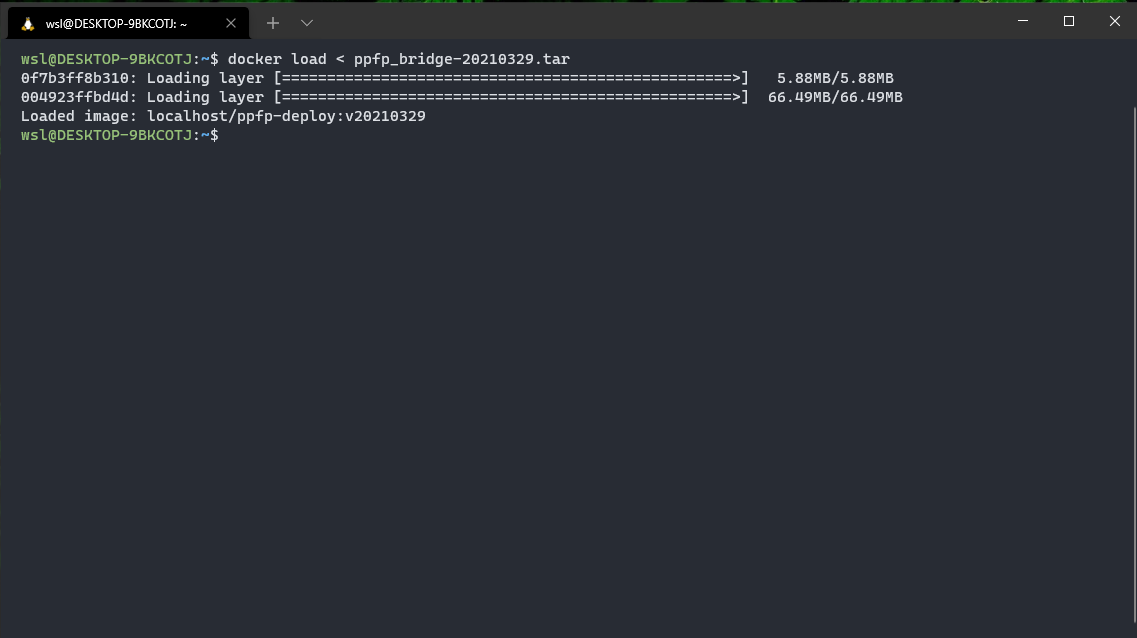
Once you have the bridge downloaded, load it in to Docker using docker load.
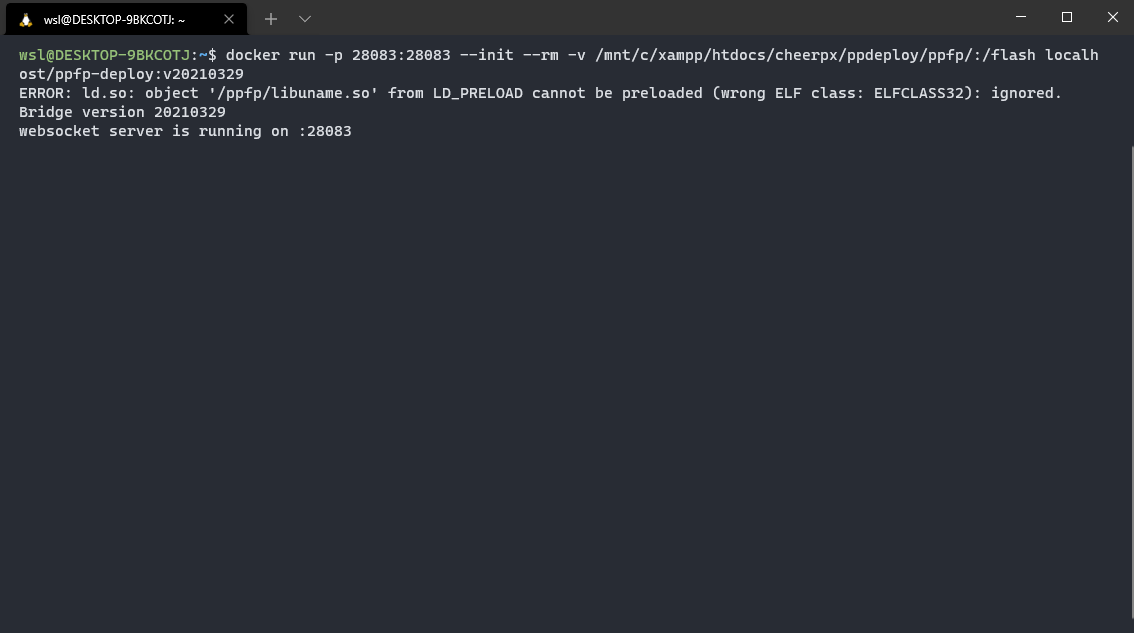
Run the image while ensuring to mount the ppfp/ volume to /flash. The location of your hosted ppfp/ folder can be directly referenced from where you are hosting CheerpX, or copied to another location for easier access. Depending on your machine, this could differ greatly, but for this tutorial, we will run the container using the following run command:
docker run -p 28083:28083 --init --rm -v /mnt/c/xampp/htdocs/cheerpx/ppdeploy/ppfp/:/flash localhost/ppfp-deploy:v20210329
The flags that we have set are:
-
-p 28083:28083- This binds the host machine port 28083 to the container port 28083. -
--init- This removes any zombie processes after the bridge has been killed. -
--rm- This removes the container after the bridge has been killed. -
-v ...- This mount our locally hosted ppfp folder to the /flash directory within the container.
For more information about docker run, read the official Docker docs.
Our Websockets server should now be running on port :28083:
We now simply need to add a single flag to our ppInit function, to tell it to talk to the bridge. This flag is:
{bridgeURL: "ws://localhost:28083" }
So our HTML from our tutorial would be updated to now look like:
<!DOCTYPE html>
<html lang="en">
  <head>
    <meta charset="utf-8" />
    <title>CheerpX - Flash Demo</title>
    <script src="./ppdeploy/pp.js"></script>
    <script>
      window.onload = (event) => {
        ppInit({ bridgeURL: "ws://localhost:28083" });
      };
    </script>
  </head>

  <body>
    <embed src="./alien_hominid.swf" width="600" height="600" />
  </body>
</html>
In scenarios where you are hosting the native bridge on an external server, make sure you point the bridgeURL to the correct location.
In scenarios where you are injecting CheerpX on the page via the Chrome extension, find the ppInit() function within the inject.js file, and add the bridgeURL there, as necessary.
Also, if the website is served through HTTPS (which it usually is), you should use a reverse proxy for the websocket and add https support there. In this case, change "ws://" into "wss://". For how to do it with nginx, take a look at the NGINX docs.
And that's it! You should now see dramatic performance improvements on your Flash content. The Native Bridge is still in very early development, and should only be used in very specific scenarios. If you think it could be useful for your content, please contact us via Asana.