Starting with Blade Engine Tutorial 1
tutorial created by Patricio Land
In order to start our new adventure game, we must create a new project with the editor. The editor will create a folder containing the structure needed by the engine. We're free to name our project as we wish, so we're using Adventure_01 for this guide.
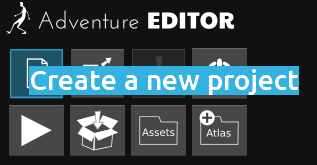
Let's launch the Adventure editor.
Select Create a new project and enter the our project name: Adventure_01.
Now we have to tell the editor the folder to put our project folder.
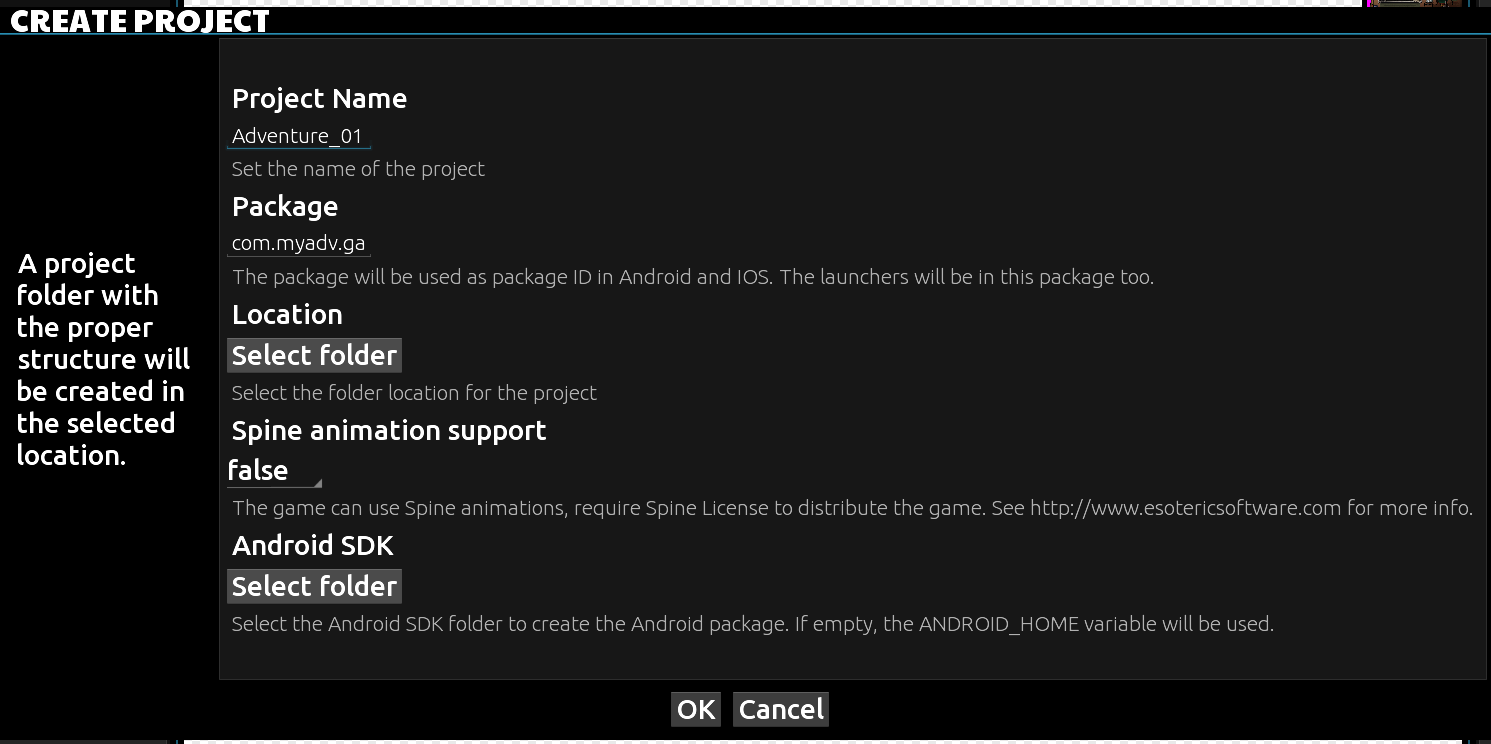
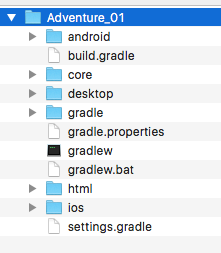
Soon After that, Blade Engine will create the game structure inside. Finally we got this result:
and, if everything goes well, the message

will show at the center of the screen.
As you can imagine each scene will be a 'game screen' of our adventure. For this reason is really convenient to put all the graphic elements of that scene (at least the background image an a few objects) under a new dedicated folder. Background_01 seems to be a good name for the folder while Room will be our large jpeg image, (the most common size for it is 1920 x 1080) and as we said, we´re also adding two sprites to put some interactive stuff onto it. One .png image for a table and another for a telescope.
Note that you can download all those files from here.
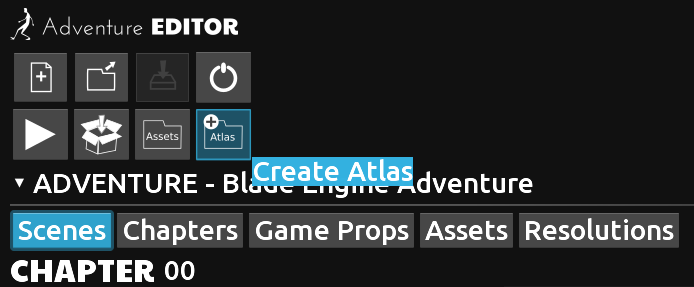
Now we´re ready to make our first atlas. Each atlas will contain all the graphic elements for the scene. The engine will extract them when needed.
Find and click the button Create Atlas to start the process.
Each Atlas has a distinctive name, in this case we can go with Room_atlas, so fill the field accordingly.
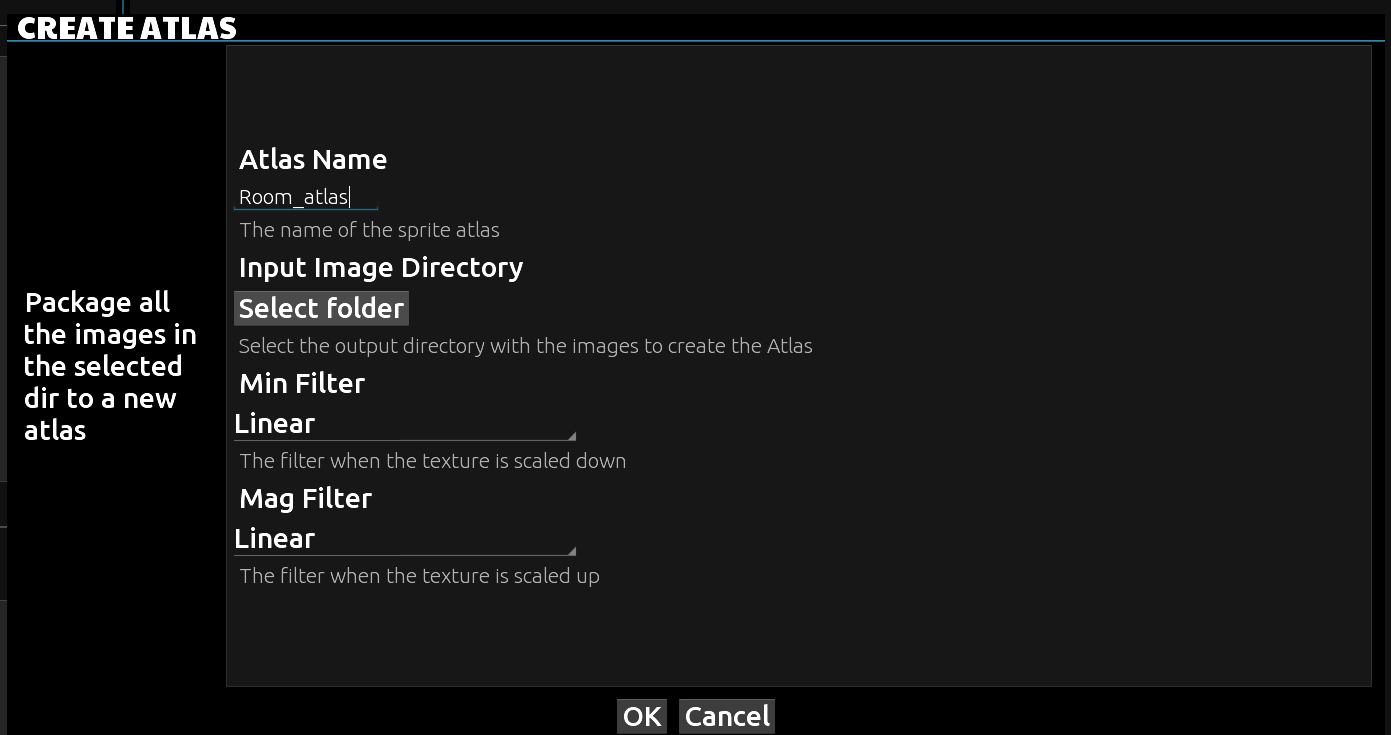
Then click the Select folder button and navigate to the Background_01 folder (the folder containing the background image and the two png's) in order to select it. After a few seconds you should got the message:

So our first Atlas for this scene is going to be generated. We can have as many atlases as we need.
Populating the scene
The next step is to create the actual screen where the action will show. For that we need to create a new element into this chapter. Click on the icon + under Chapter 00*.
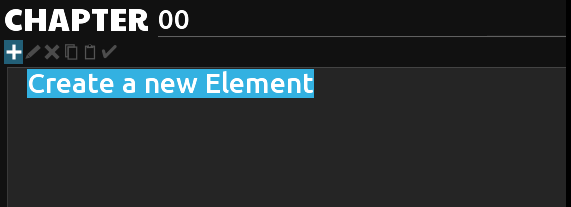
As you can see, each scene has an alphanumeric ID. In this case we can use Room as id.
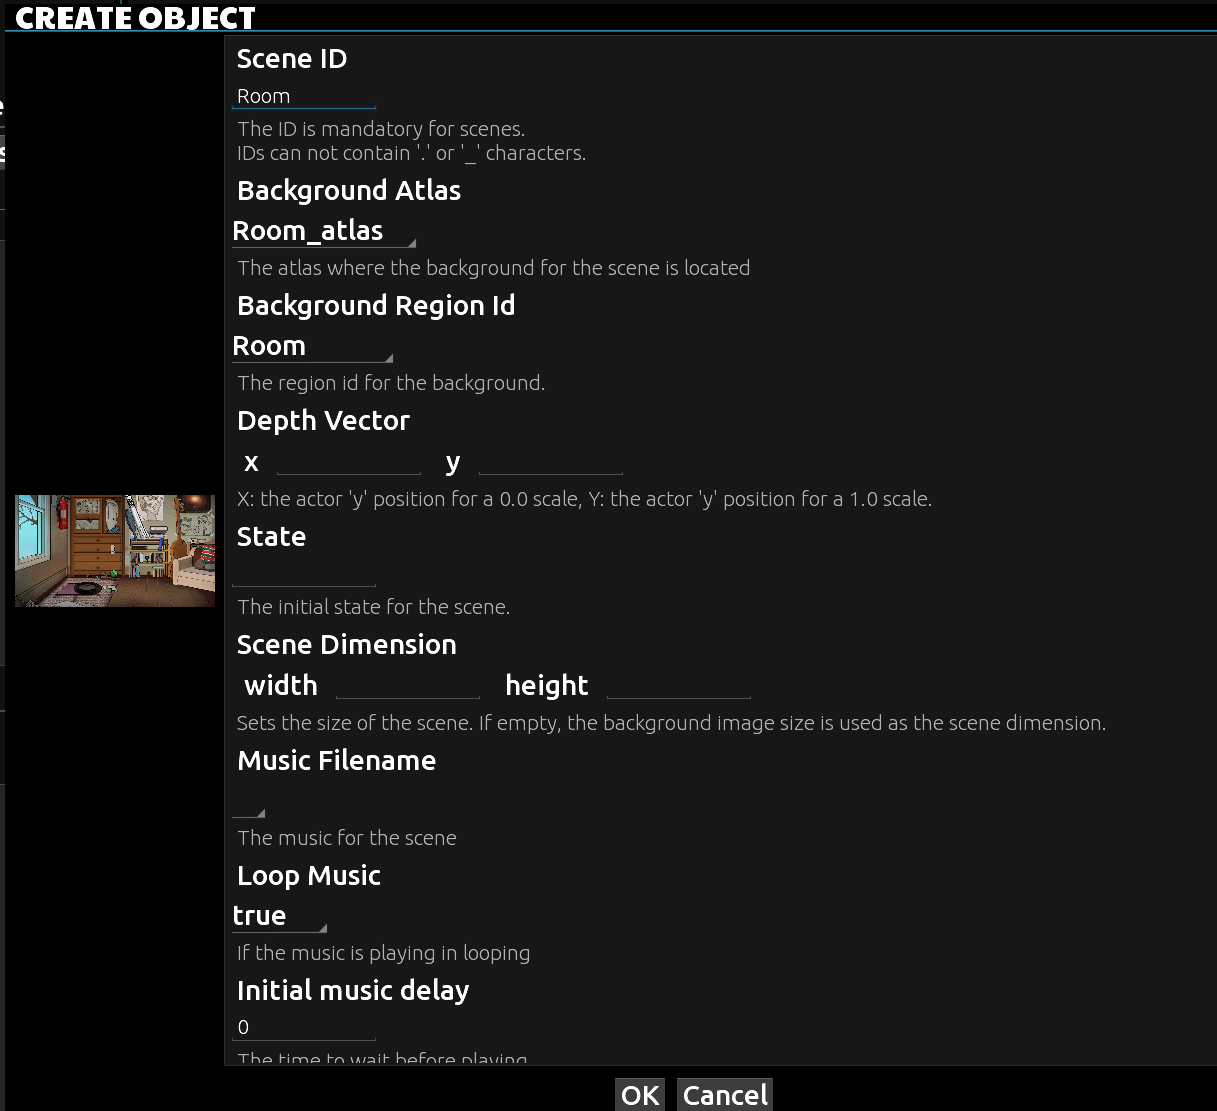
From the Background Atlas field we should choose the associated atlas to fit our needs (in this case the one we called Room_atlas).
Now it´s time now to select the right image for the scene. Please note that all the graphic elements included into the atlas are also at our disposal for later use.
As we need to start dressing up the set, we´re going to choose the Room image as shown in the picture above. A thumbnail of this image is placed at the left of this window to give us a visual confirmation.
We can leave all the other options by default (we´re going to address them in the following tutorials). Then press OK and our background picture will pop at the middle of the working area of the editor.
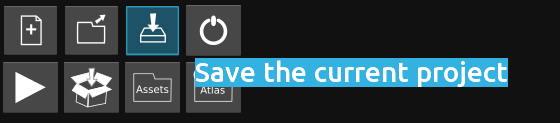
It´s always a good idea to resize the working area from the blue lines (the ones with the small arrows at the bottom) at convenience. This seems to be a great moment to save our work. Find the button Save the current project and press it.
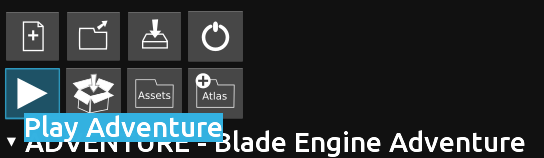
We can use the Play button in order to check out our progress until now.
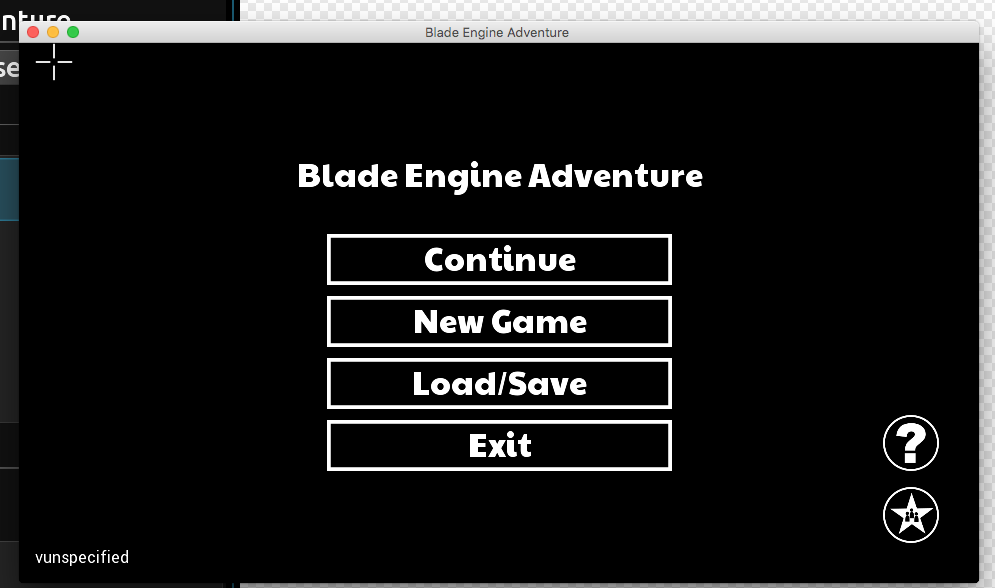
This will launch the player window and after the engine's logo the main menu will show up. Choose the New game option, and YES when prompted.
The background image we created should be shown as result. Congratulations, the adventure is about to begin!
As you can realize there´s not much to do by now! To make this journey more attractive we should add some actors to the scene.
Close the window where the game is running and go back to the editor.
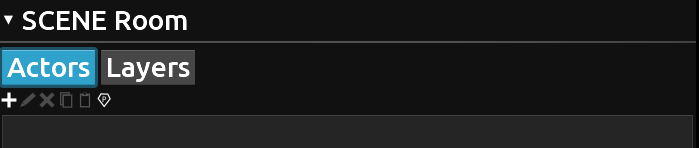
It's time to add the two .png images from the Room_atlas: the table and the telescope. For that find the + symbol under the Actor's menu in the Scene Room
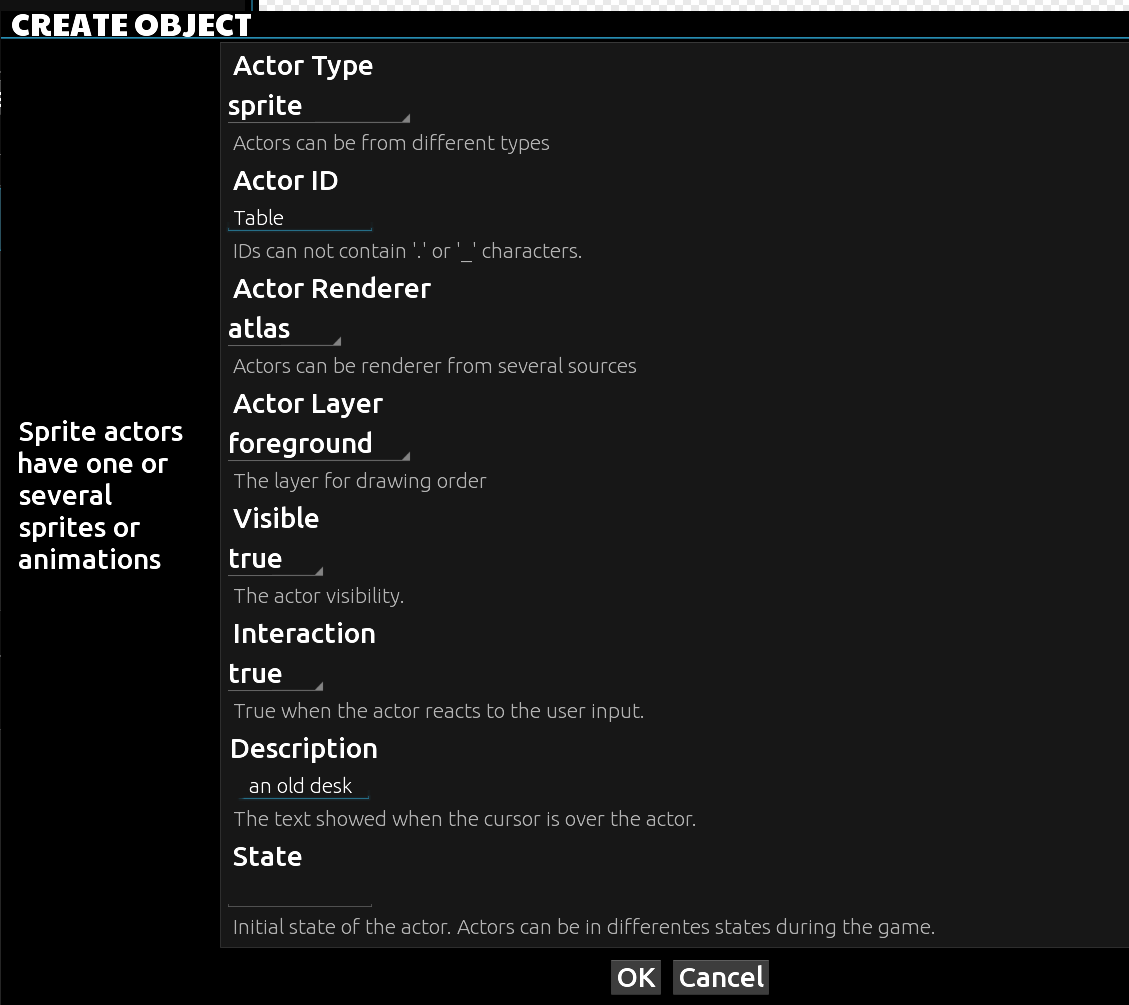
Click on the Actor Type field and a list of all the existent actor's will be shown: they are background, sprite, character, obstacle and anchor. Select Sprite from this list and enter Table to name it accordingly. As you can image, the source for this image is an atlas, so leave atlas for the Actor Rendered field.
Lastly we should add a short text description for this item into the Description field, lets say an old desk.
Leave the rest of the options in the default state and hit OK.
Now something new shows up into the working area near the background image: a small colored square that will work as a canvas for our sprite image.
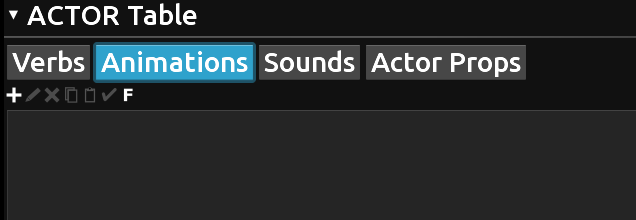
To 'fill' the square canvas with the right image, head to the right set of options from the editor under Actor table. Click on Animations and hit the plus button to add a new one.
Actually, this is not a real animation as the table object sprite has only one frame, that is only one .png image, but it's a good start to understand the basic workflow of the engine.
As you recall the image we're looking for is inside the atlas. So Room_atlas is the good choice. Afterwards we must select the right image from the list inside the ID field. So choose Table from the three options we already have. Please notice that a thumbnail of each selected sprite will show up at the left corner of the window to give us a visual reference all the time.
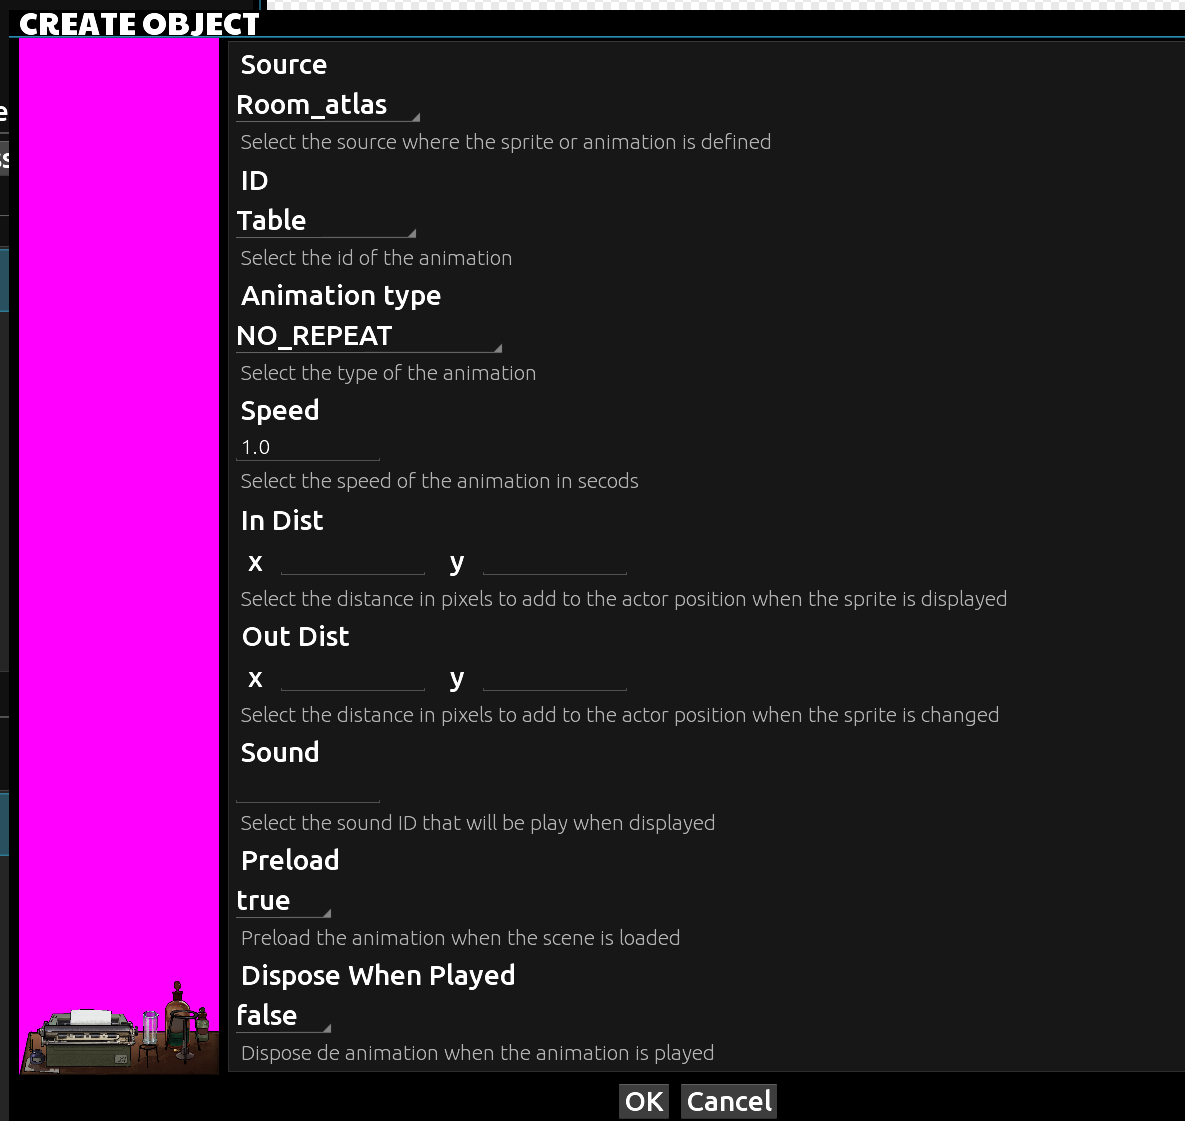
Leave the rest of the options with the default values and press OK (you´ll notice that most of these options will affect the sprite animation's performance but don't worry, we'll back to them in the next set of tutorials).
If everything is alright you'll notice that the square canvas are now convenient filled up with .png image from the atlas!
Now is time to move the sprite into the correct position in the scene. Drag the canvas with your mouse and re-place it at your best convenience.
Sometimes the sprite sizes won´t match with the background perspective or you´ll need to make it bigger or smaller to face different situations. In this case is obviously too small, so let´s see how we can change the sprite's properties (or any kind of actors properties by the way).
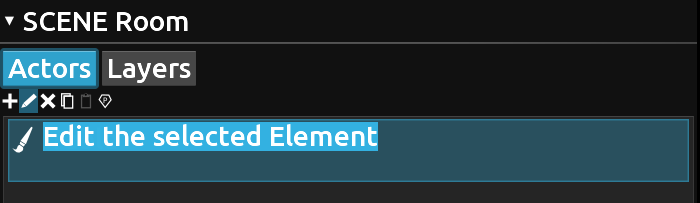
The easiest way to edit those properties is using the edit button (the pencil as icon) from the left menu in the editor, under Scene Room.
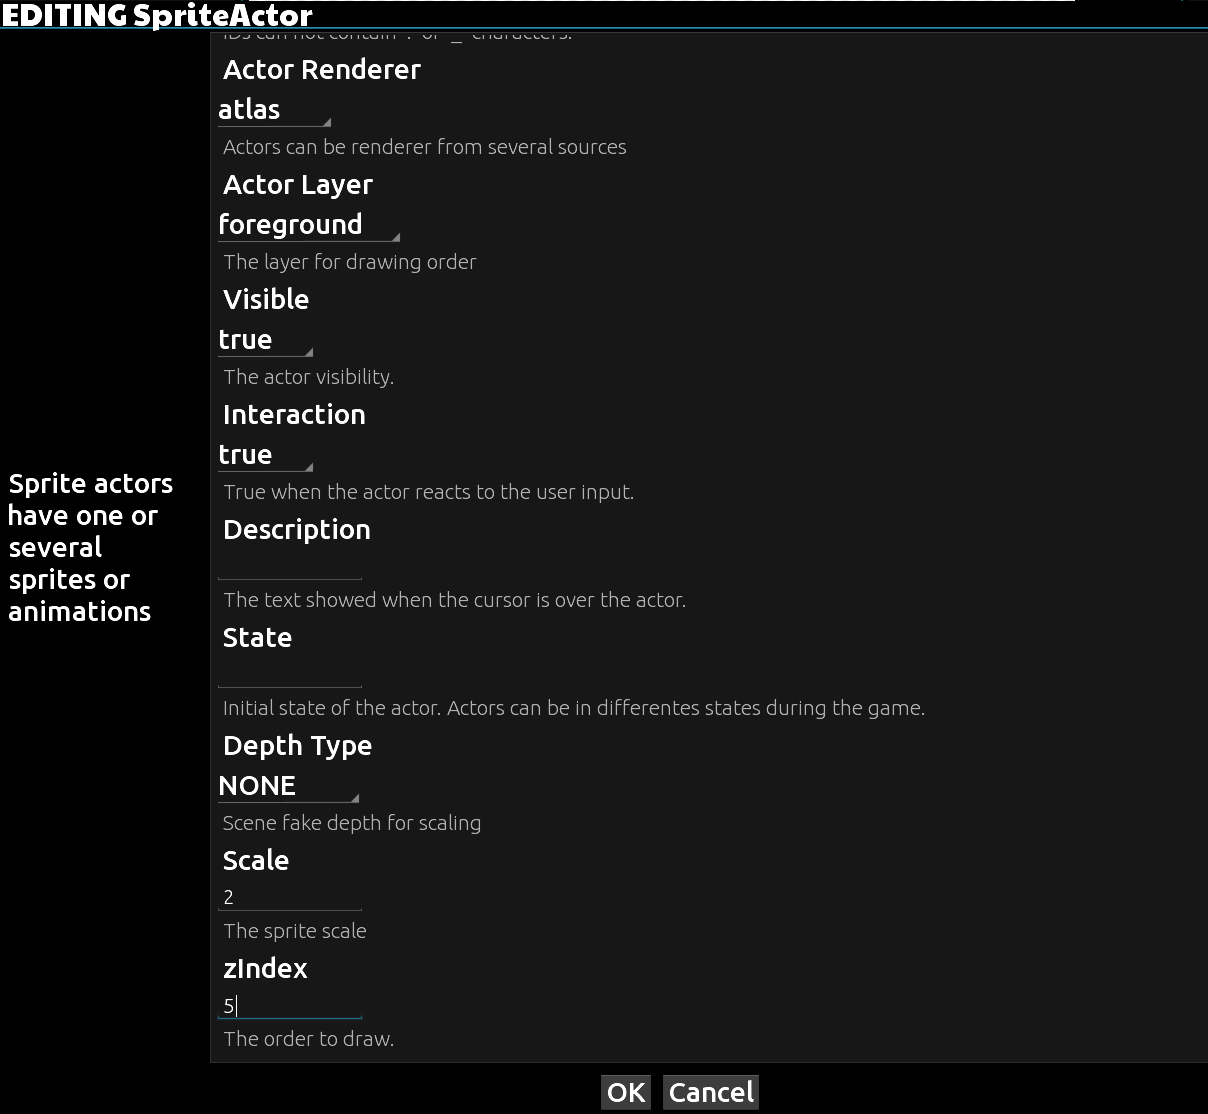
In this particular case we need to change the sprite size to make it larger so we need to address the scale field into the Editing Sprite Actor window (please note that it's possible to navigate inside the active window with the mouse wheel). Change the current value of 1 to 2 for the scale. It's also a good moment to modify the zIndex value from 0 to 5. This value will affect the visual priority of this sprite among all the others elements in the scene.
Hit OK and check the modifications in the central area of the editor.
Now you're ready to add the telescope object in a similar way. Don't forget to add a short description for it into the corresponding file. Finally place the sprite somewhere inside the background image.
Now we can test our work it by pressing the Play button.
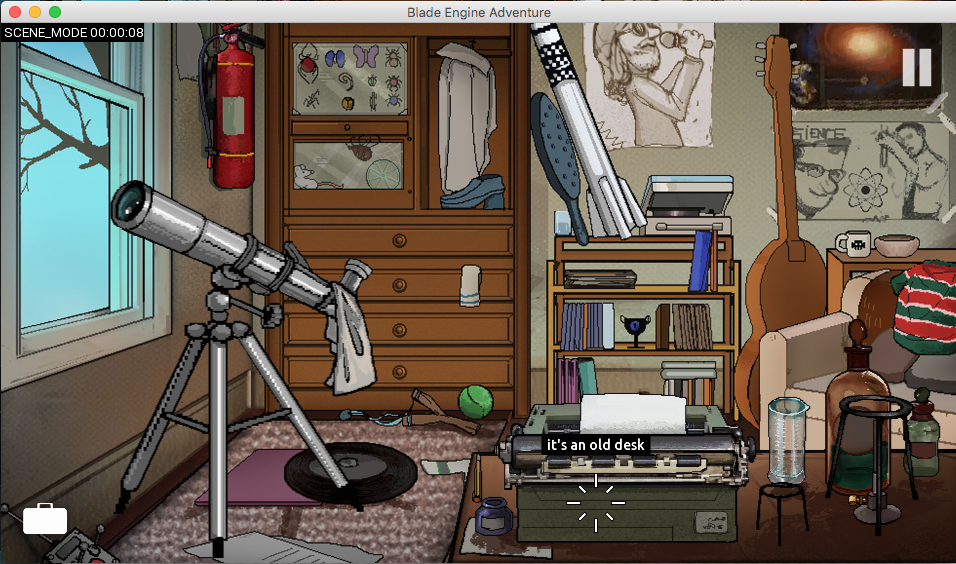
Move the mouse pointer over the two objects we set. The short text description should pop up describing each one of them.
Note: we have covered the Add and Modify options from the menus, but there´s more: the X icon will erase an object from the list while the Copy and Paste icons will be a handy option to duplicate elements.
